I recently read an article about Google Photos in the New York Times. There are numerous places online to store your photos and while I had tested out Google Photos a few years ago, I hadn’t continued to use it as an every day photo system. In this article, the author talked about the advancement of artificial intelligence and how accurately it was able to determine pictures of the same person. One of the main problems we face with taking so many digital pictures is that we can’t find them and end up not looking at them. Google has been working to solve this problem and their solution is to have you upload all your pictures and let Google figure out what is related, be it people, places or things.
This got me thinking about how I could use Google Photos along with the method I already use for storing and organizing my photos. I still prefer to have my master copy of photos and videos on my computer, stored by year, month and events. It’s backed up in numerous places, including offsite. What if I could have the best of both my system and Google? It was worth a try.
Syncing up to Google
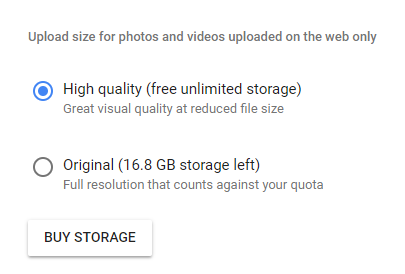
I already have a Gmail account and I have uploaded numerous photos over the years, but more as standalone albums to share with people online.The first decision to make when putting your photos and videos in Google is cost. You can let Google compress your videos and photos and then there is unlimited storage, but if you keep them at their original size then you’ll have to buy space at whatever the current rates are.

I looked up the compressed rates and they’re pretty reasonable – 16 megapixel for photos and 1080p for videos. If you use this as secondary storage, then it’s not an issue, and for most cases, these are good enough quality unless you are doing professional photo or videos work.
Setting up the sync
First, before doing anything I made sure that my master copy of photos was backed up. I have a regular process where the external hard drive of my photos is backed up to network hard drives in my house. Once this was done, I continued.
I installed Backup and Sync from Google. It walks you through the steps for installation including deciding what you want to sync and what not to sync.

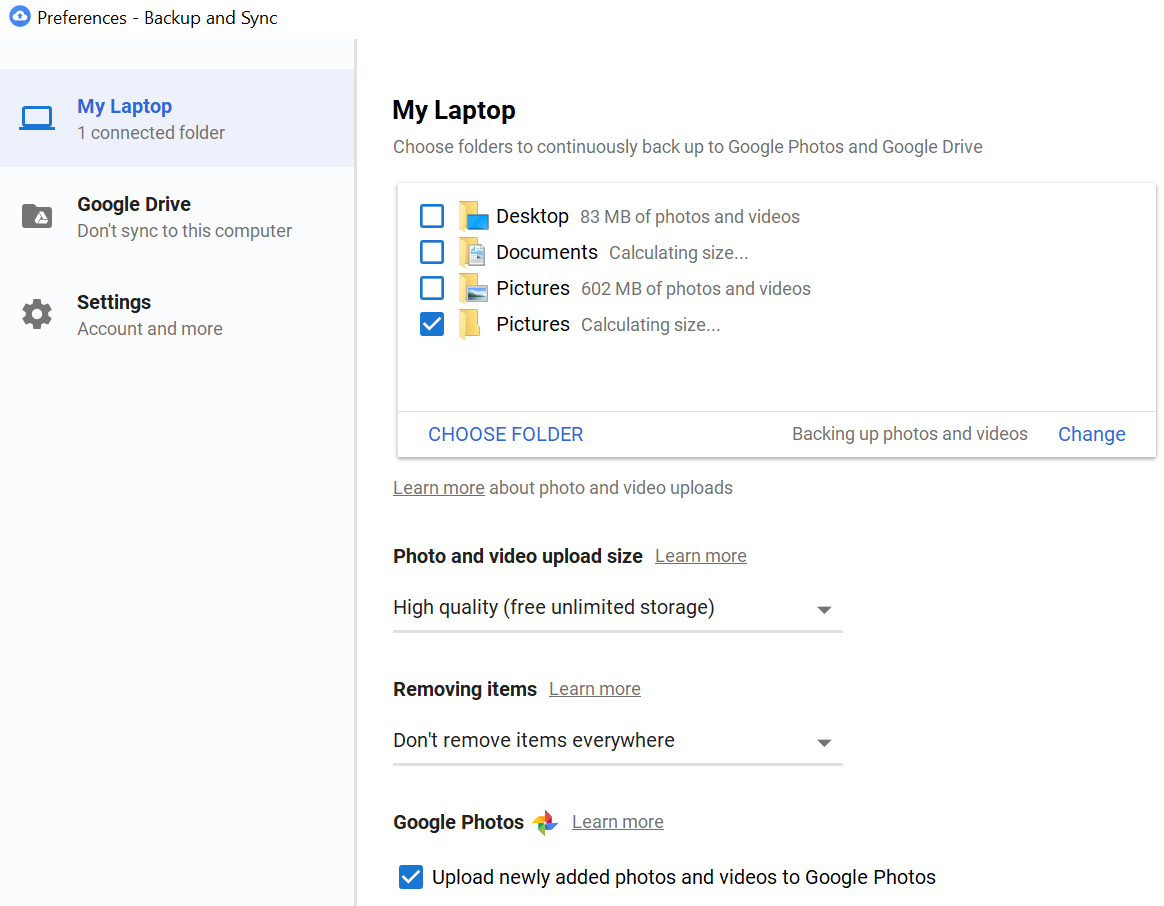
A few items to note in the screenshot above:
- I clicked on Choose Folder and picked my external drive where I keep photos. That is the box that is checked on the list of folders
- I chose the High quality, free unlimited storage option
- I set it to don’t remove items, so that it would upload only and not affect files on my computer
I then started watching as photos and videos started getting uploaded.

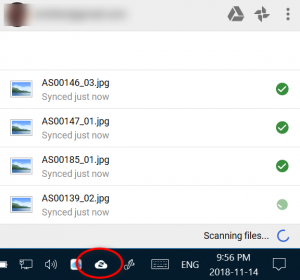
Note that you can click on the Google Sync icon in the taskbar, shown above with a red circle.
Something isn’t right
As I watched the screen scroll with photos and videos being uploaded, I occasionally saw the word ‘deleted’ or ‘failed’. After awhile, it stopped and couldn’t sync a whole bunch of files. I knew it couldn’t be close to done as I have over 50,000 photos and videos! I use a program called FreeFileSync to back up my photos and videos to another hard drive so I used it in reverse to show me what files were on the backed up hard drive and not on my primary one. It showed about 60 pictures that somehow got deleted. That concerns me as I specifically chose the option to NOT delete files. I was able to put everything back because of the backup.
I am still experimenting with the software but at this time I cannot recommend Google Backup and Sync for anyone to use with their main copy of photos and videos. If you want to get your photos and videos into Google Photos, I would suggest something along the following lines:
- Copy all of your photos to a temporary location
- Install Google Backup and Sync
- Point Google Backup and Sync to the temporary location
- In future, install the app for your phone and let it sync from the phone directly
